How To Achieve The Perfect At-Home Self Tan
5 Simple Steps To Mastering A Natural, All-Over Faux Glow
When it comes to tanning, the safest one is a fake one. According to the Skin Cancer Foundation, sun exposure is one of the major causes of skin cancer, aka the most common form of cancer in the United States and worldwide. It's also one of the biggest culprits behind early signs of aging like dark spots, wrinkles, and sagging skin, and contrary to popular belief, it only takes one bad sunburn to make a difference. So if you love a summer glow, self tanner should absolutely be on your list of beauty essentials. And when applied correctly, this doesn't have to mean a lifetime of orange hands, streaky skin, and ruined sheets.
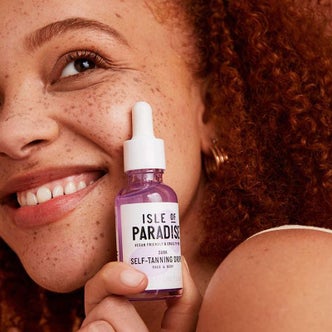
Nailing a seamless, sun-kissed appearance that doesn’t look like it came from a bottle is actually pretty simple, as long as you follow a few tips and tricks before, during, and after application. To master the faux glow for yourself, we're breaking down five easy-to-follow steps that’ll help you achieve a long-lasting, streak-free fake tan every time—and one that lasts, too. Opening images: @theisleofparadise
All products and deals are sourced by the Rank & Style team using data and expert insights. If you shop through our links, we may earn a commission—at no extra cost to you.
February 3, 2023
Authors
Welcome to Rank & Style, the only resource that uses consumer and industry data to help people shop the best products online. Founded in 2013, we were built to provide a simple solution to the bias and lack of transparency surrounding product recomm
Written By:
Rank & Style01
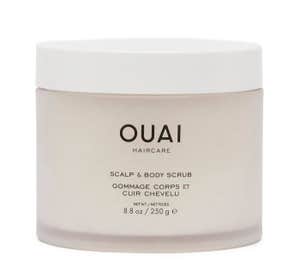
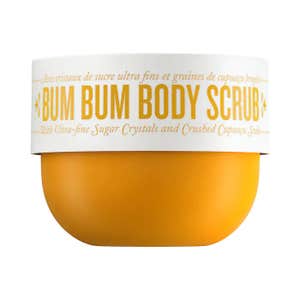
Prime And Prep


02
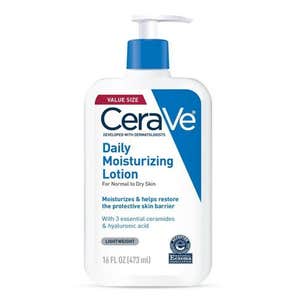
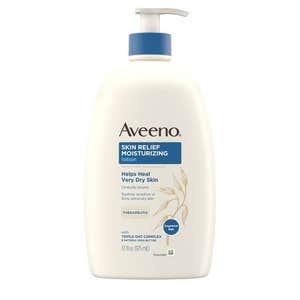
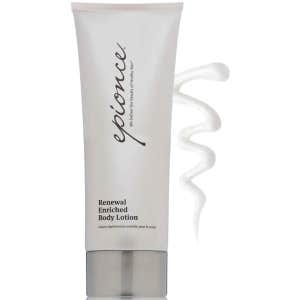
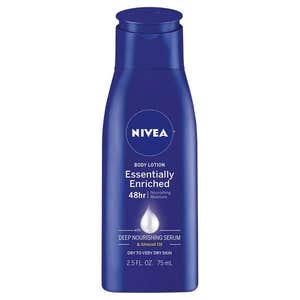
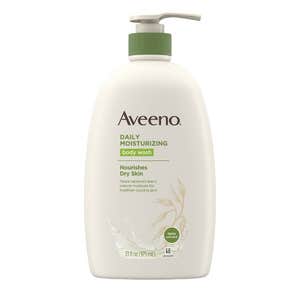
Moisturize
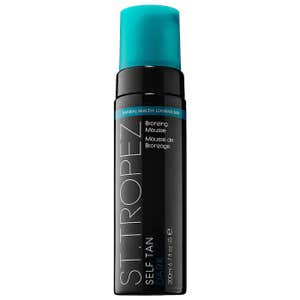
03
Apply


04
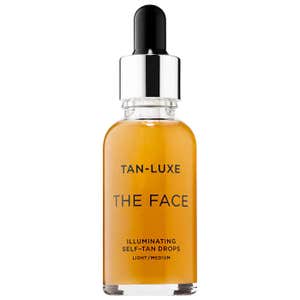
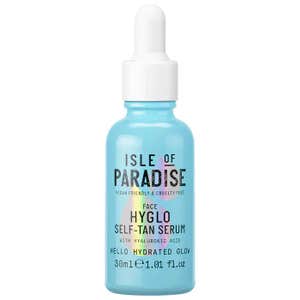
Don't Forget Your Face
05
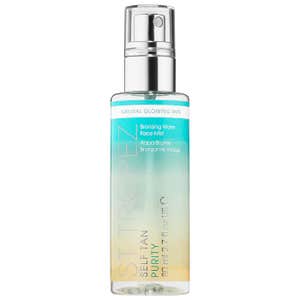
Protect


Authors
Welcome to Rank & Style, the only resource that uses consumer and industry data to help people shop the best products online. Founded in 2013, we were built to provide a simple solution to the bias and lack of transparency surrounding product recomm


.png?width=343&quality=65)
